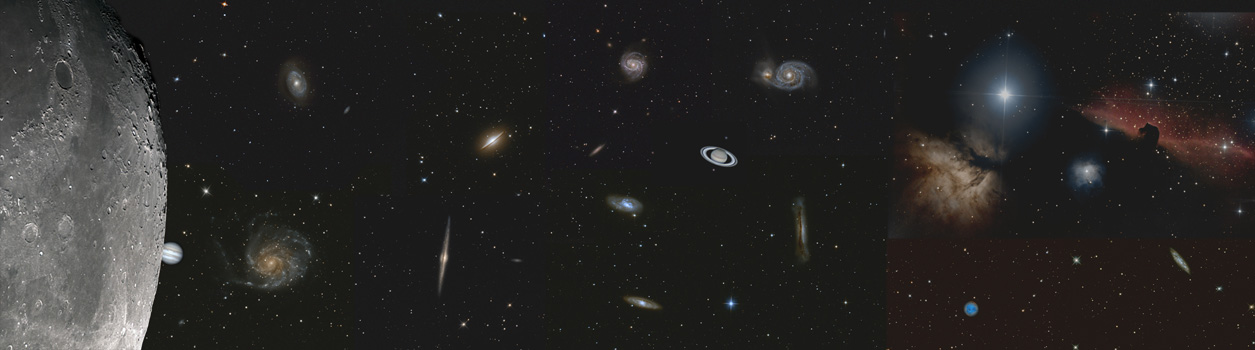
GALLERIES
Photo gallery of galaxies
Photo gallery of nebulae
Photo gallery of clusters
Acquisition
I essentially use the Sony Alpha 77 to take pictures of the deep sky. The information on how to use this device in astrophotography is practically nonexistent, for which I have determined the optimal ISO sensitivity by means of successive tests. The choice of 800 iso seems a good solution between noise and acquisition speed.
The selected exposure time is also a compromise between the numbers of photons captured, that is, the ability to capture the fainter parts of the target, and the background noise due to the brightness of the sky. In my observation post, with few pollution (4.5 on the scale of Bortle), five minutes seems to me a correct value. The exposure time can be greatly reduced for certain bright objects such as the heart of M42 or certain globular clusters.
The mount, even perfectly adjusted, can’t do a sufficiently precise tracking for several minutes for photography. For this it is necessary to resort to self-guiding. This consists in following a star with the help of a camera that, via a program interface, will give the correction orders to the mount at the moment in which the star deviates from its axis. In my case I chose the Lacerta MGEN 2 system: it consists of a B & W camera (3.6x2.7 mm sensor, pixel size 4.7mm) and a hand controller with screen. The camera is installed on an Altaïr telescope with a diameter of 60mm and 225mm focal length. This effective system is completely autonomous and you do not need to use a computer.
Processing
To increase the signal-to-noise ratio, it is necessary to make a large number of pictures. In my beginnings I was tempted to try several goals the same night and therefore make few poses for each goal. It was not a good idea and it is better to concentrate on a single object every night or several nights in a row.
Each photo generates parasitic signals that are added to the signal of the desired photo. The signal related to the electronics of the device, the thermal signal due to the heating of the sensor, which depends on the ambient temperature, the exposure time and the iso sensitivity, and finally the heterogeneity of the sensitivity of the sensor, the spots or particles in the optical path, etc.
To eliminate these parasitic signals we will make offset, dark and flat pictures. About twenty darks are enough and about fifty flats and offsets, that are quick to perform, is the most desirable.
The offset pictures are made only once, with the lens cap at high speed (1/4000 or 1/8000 of a second).
The darks should be made (also with the lens or telescope cap) precisely at the same temperature, the same exposure time and iso sensitivity as the photos of the object. The exposure time are generally high (15-20 times 5 minutes for example), the temperature evolves during the night and it is a pity to lose hours of clear sky to realize this type of pictures. For all this I have chosen to make a library of darks.
The flats must be made exactly with the same optical path and the same set-up as those used in the photos. The quality of the flats is essential to obtain a uniform sky background without any particles.
It is possible to find large online information on the realization of these three types of pictures. I will not comment here.
I use IRIS to pre-process the photos. This program combines the images of offset, dark and flat with the raw images, aligning them and adding them. This is the minimum in a pre-procesing, IRIS is capable of executing numerous other tasks. Then I do the post-processing with Photoshop.
Until 2019, I used IRIS to preprocess photos. It combines offset, dark, and flat frames with raw images, then aligns and stacks them. This is the minimum preprocessing; IRIS can perform many other tasks. I then do the post-processing with Photoshop. Since then, I have been using Siril for image processing. Newer, faster, and more user-friendly, the latest versions, very comprehensive, allow for much more efficient processing than before.
Photo gallery of planetary nebulae
Given the Earth's rotation, exposure time is limited when not using a motorized equatorial mount. Without tracking, stars or other objects will appear as trails, which in some cases can be intentional, for example, the classic star trails of circumpolar stars.
The maximum exposure time can be estimated by the classic simple formula, the 500 rule:
Maximum exposure time for pinpoint stars = 500 / focal length of the lens
This rule should be used with a 24x36 equivalent focal length. However, this formula tends to overestimate exposure time with modern cameras and smaller sensors. There are other more precise (and complex) formulations, but halving the time given by the 500 rule provides a good estimate of the maximum exposure time for pinpoint stars.
Photos with telescope
To make wide field photos I use my 16-50 or 70-200 f2.8 lenses and the defiltered Sony, mounted on an equatorial mount. The great opening of these objectives allows revealing the gas clouds or the nebulae of our Milky Way. The treatment of the images is identical to that used for the photos with telescope (see below).
If the digital camera is well adapted to deep-sky photography, it is not recommended to use it for pictures of planets. Indeed, for this it is necessary to make a large number of photos without compression very quickly. A planetary camera (historically a webcam) makes videos of several thousand images per minute which allows the turbulence to freeze. In addition, its small sensor is well suited to planets with a very small apparent diameter (40 seconds of arc for Jupiter).
I have selected a planetary camera Altaïr GPCAM 2 equipped with a Sony IMX 224C sensor (1280x960 pixels of 3.75um, sensor size 4.8mm x 3.6mm). I have added a Barlow lens that increases the focal length of the Newton by 2.7 times.
The acquisition of films must be done with the help of a computer. After having used the program supplied with the camera (Altaïr Capture) simple and effective, I opted for FireCapture, more elaborate.
The process is guaranteed by AutoStakkert! 3 and Registax 6.
Since 2020, I have been using Astrosurface as a complete processing software for planetary imaging, more efficient than the previous two tools. Two cameras have replaced the GPCAM2: on one hand, the GPCAM3, identical to the GPCAM2 but using a USB3 port, which is much faster. On the other hand, a monochrome camera, the ASI 290MM, which is more sensitive than a color camera and allows the use of filters.
Photos without telescope and without equatorial mount
Photos without telescope with equatorial mount
NEW - Space walk Video
This new option allows you to choose an observation season (winter, spring, summer, and autumn), then select the constellation where there will be photos. A map of the constellation appears, and you just need to click on the name of the desired object. Some older photos have been reprocessed with the latest version of Siril (v 1.2.4 September 2024). As with an observation session, the clickable constellations are located in the eastern part of the sky. The option to choose objects by type and in chronological order has been retained.
Or choose an object below